Picsart is an editor for androids by which you can edit your pics and even videos. This app was released on 2011-11-04 and further updated every year. Most of the time you notice that most of the friends on Facebook or people who follow on Instagram and twitter are suddenly getting into photo editing. At that time you say “Wow! How do they do that?”. This is all due to Adobe Photoshop and other editing softwares. These are complicated maneuvers.
It is the one app that let you truly creative with its almost limitless features, and it’s starting to movement with the help of people “go beyond features and makes awesome pictures”
Picsart website publish this statement on their about us page.
Here we discuss how to use picsart like a pro.
- How to Download Picsart
- How to use Picsart Like a Pro
- How to Apply Dispersion Effect
- How to Add Stickers in Picsart
- How to Make Dotted Line Photos
- How to Add Overlapping Effect
- How Can You Make an Image Transparent Online?
- How Do I Edit Using Picsart
- Can I Use PicsArt for Designing Book Covers?
- How Do you Remove Something from a Picture on PicsArt?
- Can I Remove a Watermark Using PicsArt Photo Studio?
- How Do I Download Images from PicsArt?
- How to Add The Motion Effect
- How to Use Overlays in PicsArt
How to Download Picsart
First of all we discuss here how to download picsart
- Enable unknown sources.
- From the download link download a file.
- Locate the file and install the app on your device.
How to use Picsart Like a Pro
Now the question is frequently asked is “how to use picsart”?
There is not only one way to edit your pics or use to picsart and not only one type of output. This app offers you a lot of packages you can freedomly use a mix and match of filters to make your edit professional and creative. Now here we discuss some tricks about using this app. Read to learn
How to Apply Dispersion Effect

You have probably seen hundreds of photos from your friends looking like they are about to obliterate the universe like Thanos snapped his finger. You are wondering how is it possible the answer is here by using picsart dispersion tool.
Step-By-Step Processing
Step#1 “Selection of photos”
Step#2 Tap “tool”
Step#3 “Tap dispersion”
If you think it’s quite difficult you should proceed to the next step.
Step#4 “Set the brush size”
Step#5 “Highlights the parts you want dispersed”
Figure out the part of the photo which you want to dispersed highlighting it with the help of lines. If you would not get the desired output, discard and redo the highlights. Experiment it until you get the desired result until you are satisfied.
Step#6 “Tap the arrow”
In this step just tap the arrow upper right of your screen and it will come you next step
Step#7 Customize “stretch”
By using a stretching feature, you would stretch the particle as you like. You can also make the triangle and square of any size and change direction where they scatter with direction. Can also change the fadedness of particles by using “fade mode”. You can also adjust the blending of particles as you want by using “blend mode”.
Step#8 “Save and Share”
Next step is to post your edit photos on picsart Instagram Facebook snack video or tik tok accounts. You can also share your photo with your friends via chatting apps like whatsapp etc.
How to Add Stickers in Picsart

You can make your pics wackiers cooler and magical by using stickers in picsart. It’s like only one step away from being a photographer. By using stickers you can arrange and design your photos and videos and your creativity becomes a masterpiece. And if doesn’t know how to make stickers, then you should read our article.
Step-By-Step Processing
Step#1 “Select a photo”
Step#2 “Choose the sticker”
Step#3 “Tap a sticker”
There are over millions of stickers that you are looking for that are easily searched in the search bar that you can use. A spiral isn’t only a sticker but you can also play with it. You can use a lot of stickers such as crown spirals, wings emojis etc.
Step#4 “Place the sticker”
If you are using wings you are adjusting it until it becomes your desire.
Step#5 “Erase the unnecessary sticker”
By using the erasing tool of picsart you can erase the unnecessary parts of stickers.
Step#6 “Adjusting the sticker opacity”
You can change the sticker opacity until It become your choice.
Step#7 “Save and Share”
Next step is your choice: share it, save it. it’s all up to you.
How to Make Dotted Line Photos
By using some amazing tricks you can give your snaps and videos aesthetic pieces and turn them into Instagram worth pieces.
Step-By-Step Processing
Step#1 “Select a picture”
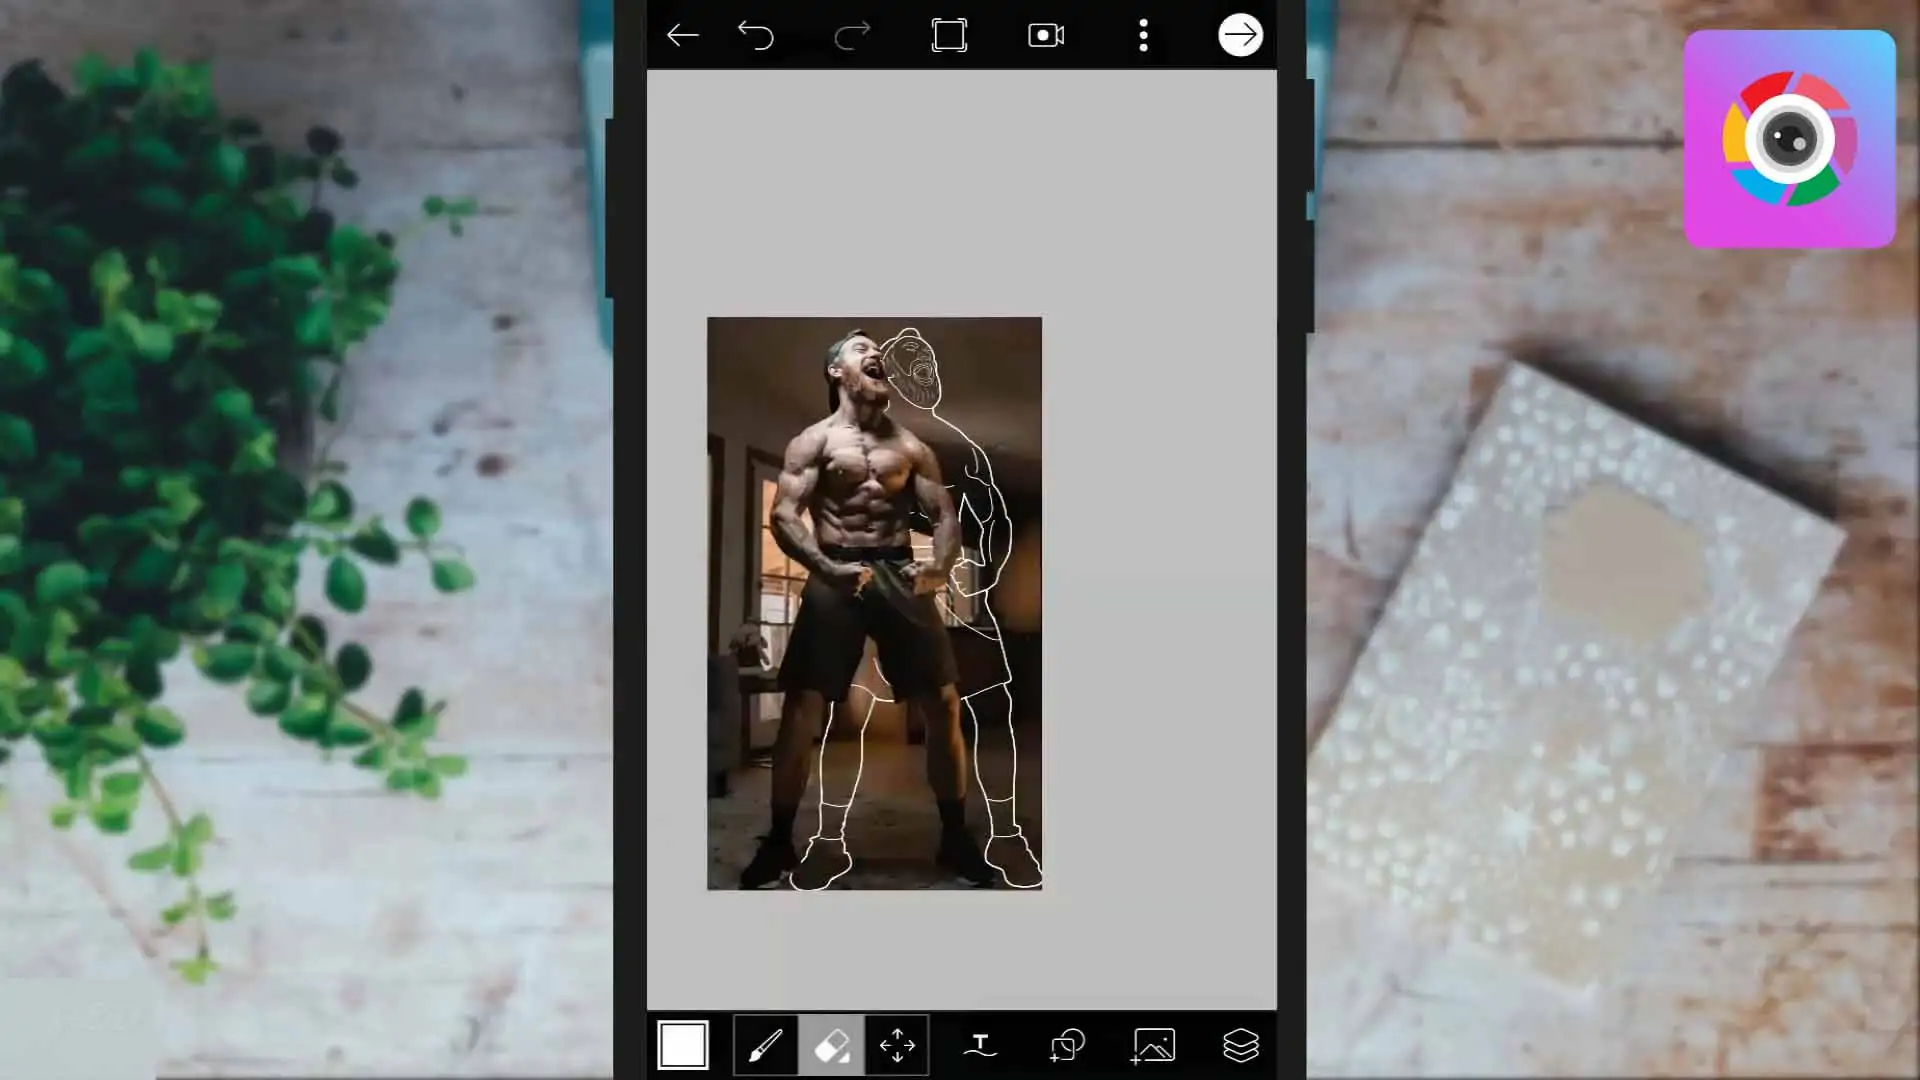
Step#2 “Select “draw”
Step#3 “Select your brush”
Tab the brush icon and select the brush you are liking then size and opacity of brush is also selected according to your choice. You can also change the color this option is available on the lower left side of your screen.
Step#4 “Drawing a Lines”
Drawing a line around the photo’s subject makes it more prominent. By using picsart you can enhance the beauty of your object by drawing lines. The space between the subject and draw line give a different look to your photos so keep the eyes on the space as you need.
Step#5 “Save and share”
At the end you must save and share the object as you want.
How to Add Overlapping Effect
This overlaying effect is another feature of picsart. In this effect one photo is layered on another photo.
Step-By-Step Processing
Step#1 “Select a photo”
Step#2 “Select another photo”
Select and add another photo by using the “add photo” option. When you do this, the second photo is layered on the first photo.
Step#3 “Customization of picture”
You can change the size, opacity and also blending according to your choice.
Step#4 Save and share
How Can You Make an Image Transparent Online?
- You have to open image in picsart
- Now select the cutout tool and manually outline the area of image that you want to be transparent or press on select to let Al auto select the person, clothes, face and head that you want to save. It’s works like background remover software
- Once you save,the remaining part will be removed and retaining part you highlighted will be in red
- Now you export the transparent image
How Do I Edit Using Picsart
Editing photos with PicsArt is very easy, just learn how to brighten your photo, how to manage contrast and brightness, how to combine your photo, how to make your photo black and white, how to change background, how to color reproduction, tattoo on your body, how to change hair style etc, in-depth guide you will find on our website.
Can I Use PicsArt for Designing Book Covers?
With Picsart, it’s easy. Just open the editor and scroll down to select the album cover option. Then click Templates to discover a variety of fully customizable album cover templates that you can use to design your own.
How Do you Remove Something from a Picture on PicsArt?
Step 1: Open the image inside Picsart.
- Open Picsart.
- Click the plus icon in the bottom center.
- Click Edit.
- Select your photo.
Step 2: Go to the Drawing tab.
- The image will be inside the editor.
- Go to Draw and then select Draw.
Step 3: Select the cleanup tool and change its settings.
- Now the image will be in the drawing window.
- Select the cleanup tool.
- Click on the Eraser tool to open its properties.
- Select the brush type as shown in the image.
- Change the brush settings as shown in the image.
Step 4: Erase the background.
- In the Layers dialog, select the image layer and start erasing.
- If something goes wrong, you can undo it by clicking the Undo icon.
- Remove the background completely.
Step 5: Save the image.
- Click the 3 vertical dots in the upper right corner.
- Then click Save Image.
Can I Remove a Watermark Using PicsArt Photo Studio?
Upload a picture. Click on the Upload button and select the image from which you want to remove the watermark. Highlight watermarks to remove. Use a marker to highlight the part of the watermark you want to remove. Take them off.
Also Read: https://editorsmodapk.com/how-to-remove-watermark-in-alight-motion/
How Do I Download Images from PicsArt?
In the absence of a ‘Download’ link, this is exactly how you would download any image.
- Right-click on it and select “Save Image As”
- Then place it in a folder of your choice.
But the download is limited to the maximum size and resolution of the displayed image, which may differ greatly from the original image. But be aware of copyright issues and any requirements for attribution.
How to Add The Motion Effect
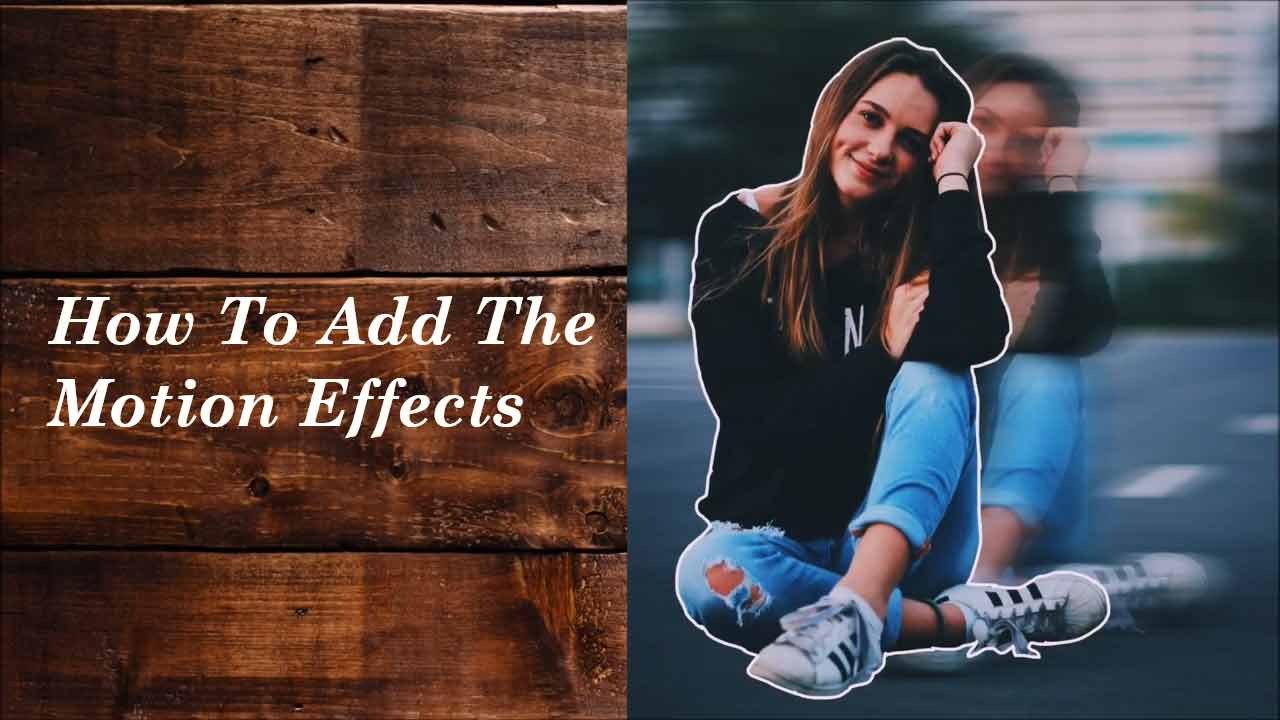
- Select a photo
- Select a “tool” then “motion”
- Choose “auto”
- Drag a select portion
- Adjust “count” and “opacity”
- Save and Share
How to Use Overlays in PicsArt
For overlay images viewers look through one image to discover another image because the overlay image is more transparent than the background photo. The background image will be more easier than overlay depending on the level of transparency and detail.
The overlay image is very spare or transparent. If a viewer will see a high background image then the overlay image is dense and opaque. These transparency option is not right and wrong, it’s all about the taste of people. So follow your creativity to add overlay in the image.
- First of all open the picsart and click on plus sign appearing in the bottom middle of the screen to start a new project. Your gallery images will appear on screen and select the image that you want to work with.
- Now you have to select a photo that you want to use as a background and it to the editing screen.
- Now move to the right corner at the bottom menu until you did not find the “Add Photo” and press on it.
- Please select the overlay image from our free images or from your personal library for perfect photography. Use the “overlay images” keyword to search exactly what you are looking for.
- The picsart app will take you back to the editing screen, once you select your overlay image. It will cover up the background image and it will be entirely opaque. Now you can stretch the overlay photo to canvas edges and you can also fix the transparency in the next step.
- Instead of fiddling with transparency settings yourself, you can use the “Blend” tool at the bottom menu of the screen and you will find many options for changing transparency settings.
Recommended for you