
- First of all open the picsart and click on plus sign appearing in the bottom middle of the screen to start a new project. Your gallery images will appear on screen and select the image that you want to work with.
- After selecting your image, move to the right on the menu in the bottom middle of the screen to find the “Text” icon and press on it.
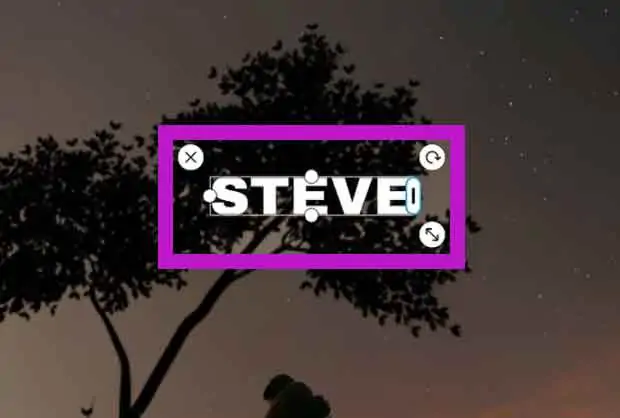
- Now the cursor will appear on the image and you can type on it. In start the cursor will appear at the middle of the image but once you complete the writing screen you will be able to move and resize the text. When you complete your writing don’t forget to press “tick” appear on top right corner.
- Picsart also allows you to choose your favorite font. It will automatically highlight when users scroll to the right side in the bottom menu and try out various font options.
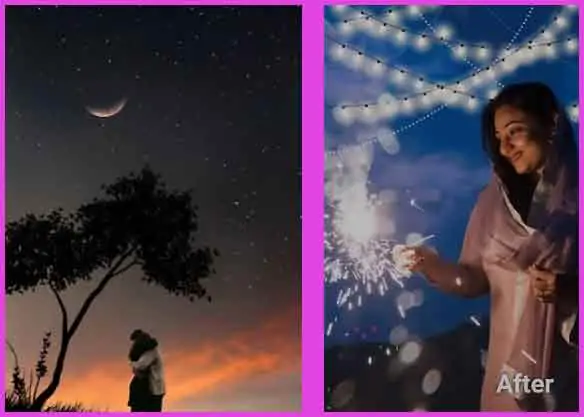
- You can also add next level creativity by using advanced tools. Let’s start with a bold travel look.
You have to select a color (solids, gradient and texture) that appears in the bottom menu on screen. For this attractive look, we recommend you to use gradient colors that look more dashing.
How to Make a Text Design with PicsArt
- Open the picsart then press on pink/purple cross, a popup with four options Edit, Collage, Draw and Camera will appear. The option is that you can also scroll down to pick the background color.
- Now you have these options “ camera ”, “ Background ”, “ Free images ” for background selection, you can select any color for background.
- Once you select the background then the menu will appear with different options, in the menu “ Text ” will allow you to make a text design and you can also align the text right, left and center.

- When you finish your text then you can also select your favorite font and also be able to italic or bold it. Another case is that if you press on apply and realize that you don’t like then you can also select the text again and change the font. Once you are done you have to check the mark on the top right side now text will be center aligned on the screen.
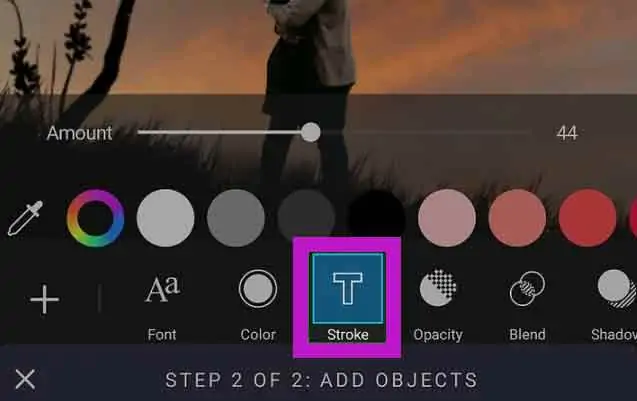
- For desired spacing you have to select the text the menu with different options “ Font ”, “ Color ”, “ Stroke ”, “ Opacity ”, “ Blend ”, “ Shadow ” and “ Spacing ”will appear. You will click on spacing to give the space to text.
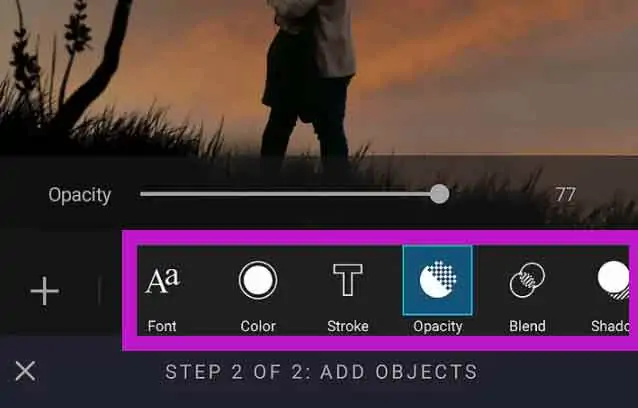
- You can also give the outline to your text then you can use the “ stroke ” tool. Select your favorite color for outlining and adjust the bar size of the outline.
How to use PicsArt to Delete Text in Photos
- Open the picsart then press on “ + ” to select the image from the gallery whose text we want to delete, then in the editing interface press on “ Tool ” and select the Clone tool.
- Now you will see the blue circle which allows you to move on another area which is similar to the area which is beneath the text. You can move this circle to any area until it is not similar to written text, after selecting the area that you want to use, you need to press on the text to delete it. The text will disappear from the image.
- If you want to continue choosing the deleted area, press on the circle icon to show the circle to select the circle once more. If we make a mistake we can press on the arrow icons to go back to the previous step.
- Finally we got the image after deleting the text.
- Once the editing has been done press on the apply button and then move to the next button, now you can save your edited image.
You need to learn more use of picsart for applying dispersion effect, motion effect, add stickers, any many features to become a pro.
PicsArt Apks